
Your privacy choices

Optional analytics helps us understand which guides are useful. It stays off until you allow it. We store your choice on this device. Cookies and storage · Privacy policy

Current choice: optional analytics off.

Solar & PowerPUBLISHED 2026-05-25

Battery Monitors: Victron BMV Guide

JW
James Whitfield
Contributor archive
2 min read

As an Amazon Associate we earn from qualifying purchases. How our links work.

Legacy guide: a displayed publication date does not mean every detail has been independently checked.

Report an error in this guide · Editorial standards
On this page6 sections
Buying shortlist

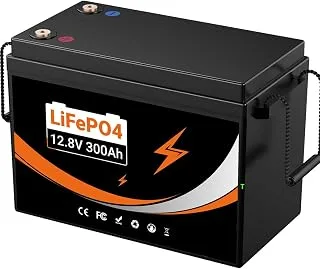
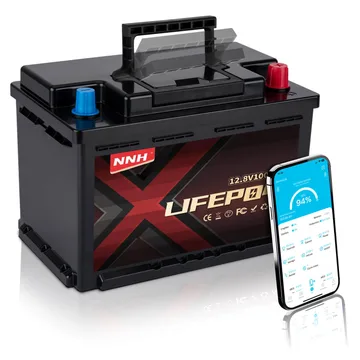
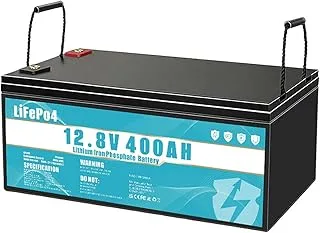
Lithium leisure batteries worth comparing

Browse all on Amazon UKAdd all 4 to basket

As an Amazon Associate we earn from qualifying purchases. Listings are chosen by published rating and suitability for a UK campervan; we have not physically tested every item. Prices and availability were accurate on 3 November 2026 and are subject to change. How our links work.

A battery monitor shows you exactly how much energy you have left in your leisure battery. Guesswork leads to either running out of power or never using your battery's full capacity. The Victron BMV (Battery Monitor) series is the gold standard in the campervan world.

Verdict

The BMV-712 with Bluetooth is the best choice for most van builds. Install it during the electrical fit-out and you will never wonder how much battery you have left.

Models

ModelFeaturesPrice
BMV-702Voltage, current, Ah, SoC, temperature£120-140
BMV-712Same + Bluetooth£150-180
SmartShuntSame as BMV-712 but shunt-only (no display)£100-130

Installation

The BMV shunt sits in the negative line from your battery. All loads and chargers must return to the battery through the shunt (not direct to chassis). Installation steps:

  1. Disconnect battery negative
  2. Mount the shunt on a non-conductive surface
  3. Connect battery negative to shunt "BATTERY MINUS" terminal
  4. Connect all loads/chargers negative to shunt "LOAD MINUS" side
  5. Run the RJ12 cable from shunt to display
  6. Connect the positive power wire to a switched 12v source
  7. Configure battery capacity in the setup menu

Configuration

Enter your battery's Ah capacity and Peukert exponent (typically 1.05-1.25 for LiFePO4, 1.25 for AGM). The BMV auto-learns your battery's efficiency over the first 3-5 charge cycles.

Accuracy

After 10 charge cycles, the BMV is accurate to within 2-3% of actual state of charge. Critical for LiFePO4 batteries where voltage is a poor indicator of remaining capacity (LiFePO4 voltage stays flat at 13.2V from 20% to 80% SoC).

You Might Also Like

Buying shortlist

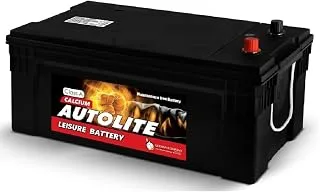
Two options for leisure batteries

Browse all on Amazon UKAdd all 2 to basket

As an Amazon Associate we earn from qualifying purchases. Listings are chosen by published rating and suitability for a UK campervan; we have not physically tested every item. Prices and availability were accurate on 3 November 2026 and are subject to change. How our links work.

Topics

solar-powerbattery-monitorvictroncampervanelectrical
ℹ️

As an Amazon Associate, we earn from qualifying purchases. If you click a link on this page and make a purchase, we may receive a small commission at no extra cost to you. Check current specifications, prices and availability with the retailer. Buying guides may be based on research rather than hands-on testing.

JW
James Whitfield
Contributor archive

Van Life UK contributor archive. See our editorial policy for research and testing standards.

View all articles by James Whitfield →