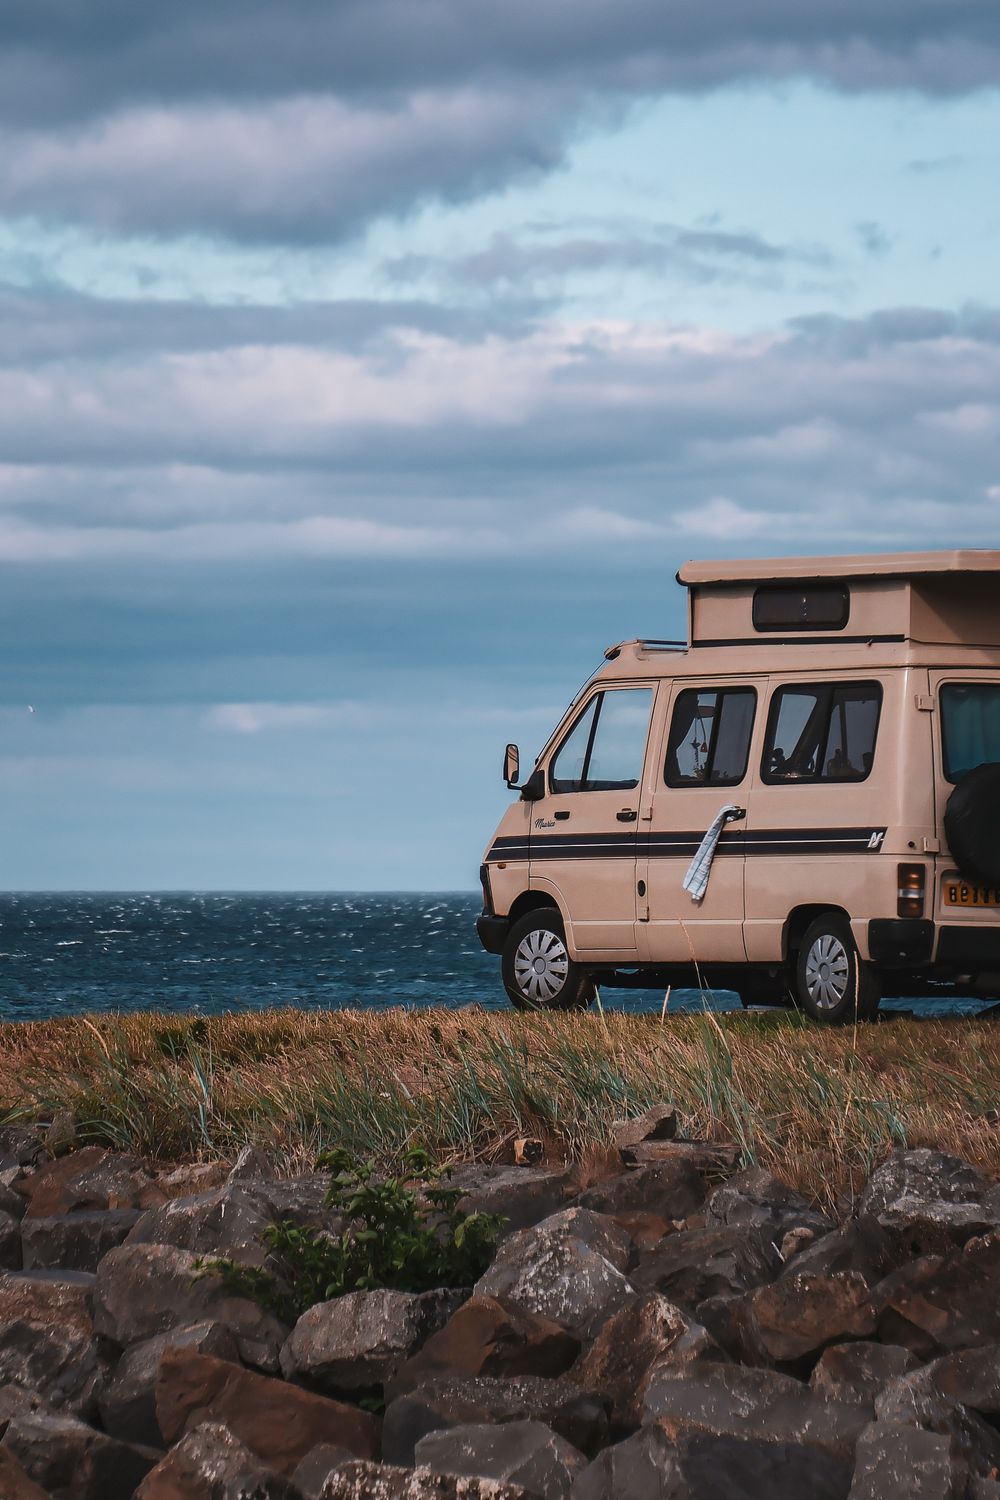
Buying a Used Campervan in the UK: The Complete Inspection and Buying Guide
Introduction
Buying a used campervan is one of the most exciting purchases you'll ever make — and one of the easiest to get badly wrong. The used campervan market is full of two kinds of vehicles: genuinely loved, well-maintained homes on wheels, and tired vans with a fresh coat of paint hiding damp, rust and deferred maintenance.
The difference is usually visible if you know what you're looking at. That's what this guide is for. It's the complete UK buying guide for 2026: how to choose the right type and base van, the 20-point inspection checklist that catches the problems sellers hope you'll miss, the damp test that exposes bad conversions, the paperwork that proves the van is legal, and how to buy without overpaying.
First, Decide What You're Buying
The used market splits into three very different categories, and you should decide up front which one you're in:
Panel Van Conversion
A panel van (Transit, Ducato, VW Transporter, Trafic...) converted into a camper. The most popular choice in the UK.
- Pros: easier to drive and park, cheaper to insure than coachbuilts, huge aftermarket, most campable in the UK
- Cons: conversion quality varies enormously — a bad DIY conversion is the riskiest purchase in the market
- Watch for: damp, gas certificates, amateur electrics. The conversion quality is the whole game
Coachbuilt Motorhome
A purpose-built motorhome on a van or truck chassis.
- Pros: proper bathroom, more space, designed for the job
- Cons: bigger, heavier, pricier to run and insure, more to go wrong (and more to check)
- Watch for: roof and sidewall seams, window seals, fridge on gas, habitation services
Factory Camper (e.g. VW California, Crafter)
Built by the manufacturer, not a converter.
- Pros: consistent quality, strong resale, proper warranties (if under age)
- Cons: the VW premium, and "factory" doesn't make them immune to damp — especially older pop-tops
- Watch for: pop-top canvas, roof mechanism, and the same damp checks as anything else
Choose Your Base Van Wisely
The base van is the most important component you're buying — more than the kitchen unit or the bed. The UK favourites for good reason:
- Fiat Ducato / Peugeot Boxer / Citroen Jumper — the workhorses. Cheap parts, huge aftermarket, forgiving to drive, and the most common conversion base. If you want parts availability and easy servicing, this is the smart choice
- Ford Transit Custom — brilliant to drive, hugely popular conversion base, strong on the used market. Slightly higher prices than the Ducato family
- VW Transporter (T5/T6) — the icon. Holds value like nothing else, drives beautifully, but you pay the VW tax and they're a magnet for rust on older examples
- Renault Trafic / Vauxhall Vivaro — budget-friendly, good on fuel, great value; fewer conversion options than Ducato/Transit
- Mercedes Sprinter — the premium option, massive space, but expensive parts and servicing
- Small vans (Nissan NV200, Peugeot Partner) — city-friendly, cheap to run, but very tight for living space
A rule of thumb: for a first campervan, choose the most common base van that fits your budget, because parts, tyres and servicing are all cheaper when the van is a common model.
The Budget Reality
Set the budget before you look at vans, and include everything:
| Cost | Realistic UK range (2026) |
|---|---|
| The van itself | £6,000–£35,000 |
| Professional inspection | £200–£400 |
| Repairs fund (first year) | £500–£2,000 |
| Insurance (first year) | £600–£1,500 |
| Gear and safety kit | £200–£1,000 |
The most honest budgeting rule: if the van is at the top of your budget, you've already overspent, because the first-year repairs fund has to come from somewhere. Buy a slightly cheaper van and keep the repair money — it will be needed.
The 20-Point Inspection Checklist
Work through this in order. If you find a serious problem early, you don't need to go further — it's a negotiation point or a walk-away.
1. The Paperwork (Start Here, Not at the Bodywork)
- V5C (logbook) — check the registered keeper's name matches the seller, the VIN matches the van, and the address is the seller's. A mismatch is a red flag
- Service history — stamps or invoices. Gaps aren't fatal but ask why
- MOT history — check it free on GOV.UK. Look for a pattern: repeated failures on the same item, advisories never addressed, or a history of corrosion
- HPI check (£10–20) — proves the van isn't written off, stolen, or on finance. On a private sale, this is non-negotiable
- Gas and electrical certificates — for a converted van, ask for evidence the gas work was done safely (CRGScert or equivalent) and the electrics were professionally checked. Absence is a red flag for a DIY conversion
2. The Bodywork
- Rust — check wheel arches, sills, door bottoms, rear doors, floor edges and the chassis. Surface rust is normal; through-rust or bubbling is a cost to fix
- Panel gaps and paint — uneven gaps, overspray or different-coloured panels suggest accident damage
- Windows and seals — cracked seals around fixed windows are a damp entry point
3. Damp and Leaks (The Deal-Breaker Check)
Damp is the single biggest risk in a used campervan, because it's expensive and often hidden. In a converted van, check:
- The roof — headliner stains, soft spots, delaminating roof (common on coachbuilts)
- Window surrounds — the classic leak point
- Rear door seals and corners
- Under the bed and in every cupboard — soft wood, musty smell, water stains
- The floor — soft boards, lifting laminate, carpet that feels damp
Use a damp meter (£15–40) — a pro-grade moisture meter with a probe is the best tool you'll bring. Anything reading 15%+ needs investigation; 20%+ is a serious damp issue. On a coachbuilt, test the walls and seams around every window. Damp readings are the single most common reason people walk away.
4. The Engine and Gearbox
- Cold start — listen for rattles, knocks or smoke. Blue smoke = burning oil; white smoke that lingers = coolant problem
- Oil — level, colour, and look in the oil filler cap for creamy sludge (water in oil)
- Coolant — level and condition; low coolant with a clean dry engine bay is suspicious
- Leaks — check the ground under the van and the engine bay for fresh oil or coolant
- Gearbox — a clean gear change through all gears, no crunching, no whining. Clutch: high bite point, judder or slipping means a clutch job (expensive)
5. Suspension, Brakes and Tyres
- Suspension — bounce each corner; a car that keeps bouncing has tired shocks. Listen for knocks over bumps
- Brakes — a firm, progressive pedal. Uneven brake-disc wear or a low pedal means a brake job
- Tyres — tread depth, and uneven wear across a tyre is a giveaway of suspension or alignment problems. Check tyre age (the DOT code)
6. The Habitation Equipment (If It's Already Converted)
- Leisure battery — how old is it, does it hold charge, and does the split charger work? (A cheap multimeter settles this)
- Electrics — test the 12V sockets, lights, water pump and any inverter. If there's a mains hook-up system, check it has an RCD and the wiring looks tidy, not scotch-locked
- Gas — check the regulator, hoses and appliance connection dates (stamped on hoses), and confirm the hob and heater actually fire and the flame is clean blue. If there's no gas certificate, budget for a gas safety check before you use it
- Water system — water tank, pump, taps, and any water heater: fill and test for leaks and flow
- Bed and furniture — open everything, check the bed frame, drawers and hinges. Loose or broken furniture in a camper is a sign of hard use
7. The Drive Test
Never buy a campervan you haven't driven. Take it on a mix of roads and listen for: clunks from the drivetrain, vibration at speed, pulling to one side, unusual engine noise, and check the temperature stays normal on a longer run.
The Damp Question, Answered Honestly
"Damp" is the word that scares every campervan buyer, and rightly so. A little damp is fixable; structural damp (rotted wood, delaminated panels, rusted subframe) is not worth your money. The honest rule:
- Fixable damp — a leaking window seal, a perished roof seal, condensation staining. Negotiate on price and get it repaired
- Walk-away damp — soft floors, rotten walls, roof delamination, musty interiors that clearly recur. Walk away
If you're not confident testing damp yourself, spend the £200–£400 on a professional inspection. It's the cheapest insurance in the entire purchase.
Buying From: Dealer, Private, or Auction?
| Source | Pros | Cons |
|---|---|---|
| Reputable dealer | Consumer protection, often warranty, financed options | The premium price |
| Private sale | Cheapest, negotiable | No protection, paperwork risk (do the HPI check) |
| Auction | Lowest prices, exciting | No test drive, no returns, buyer beware |
For a first campervan, a reputable dealer is the safest route and worth the premium. For experienced buyers, private sales and auctions (BCA and similar) offer real bargains — our auction guide covers that route in depth.
The Paperwork That Proves It's Legal
- V5C matches seller and VIN
- MOT is valid (or you know what it needs)
- HPI clear of write-off, theft and finance
- Service history accounts for the van's life
- Gas certificates exist for conversions
If any of these are missing, it's a price-cut or a walk-away — never an "I'll trust them on it".
After You Buy: The Hidden Costs
The purchase is the start, not the end. Budget for:
- Insurance — a conversion needs declaring (some insurers are picky about campervans; compare specialist insurers). See the insurance guides for what you need to declare
- Reclassification — if your van is converted but registered as a van, reclassifying it as a Motor Caravan with the DVLA can cut insurance and clean up your paperwork. It needs an inspection
- The first service — oil, filters, a mechanic to look over your new purchase
- Gear and safety kit — gas check, fire extinguisher, security devices
- Repairs — the fund you wisely kept
Final Thoughts
Buying a used campervan in the UK is a brilliant purchase when you get it right — and the "getting it right" is mostly process. Decide the type and base van, budget with a repair fund built in, work the 20-point checklist, test the damp, verify the paperwork, and drive it before you commit.
The campervans that end up as expensive lessons are the ones bought on emotion in an afternoon. The ones that become homes are the ones bought with a checklist and a damp meter. Be the second buyer — the road will thank you.